Published by coffeemove.eu on July 13, 2025
Author: Jonas Folschette
For years, coffee experts have practically drummed into us one notion: blade grinders are bad. They only "smash" beans, produce uneven grounds, overheat the coffee, and destroy the aroma.
We say: It is time to dispel this myth.
Based on new findings and the application of simple physical principles, we present a groundbreaking guide. We show you how to use any commercially available blade grinder to produce a grind that is astonishingly close in consistency and flavor to that of an expensive professional grinder.
Forget expensive upgrades. The coffee revolution starts here and now – with what you already have in your kitchen.
The secret: Why this technology works
A hammer mill crushes beans through high speed (impact). A professional mill grinds them through the application of force between two discs (shear). The physical principle of grinding is not all that different. The real difference lies in control .
With our method, we regain control over two crucial factors:
- The condition of the bean: We prepare it optimally for the grinding process.
- The energy input: We precisely dose the power of the mill instead of letting it act uncontrollably.
The classic method: Perfect grind without freezing
This technique is the foundation for everything and only requires a small adjustment to your routine.
Step 1: The Water Drop Trick (RDT "light") The biggest problem with grinding is static electricity. This causes the finest coffee dust to stick to the lid. The solution is simple:
- Add a single drop of water to your weighed amount of coffee (e.g. 20g).
- Briefly toss the beans until they are all matte but not wet.
- Your optimized set: This microfilm reduces static charge almost completely to zero! It prevents the grounds from "flying" and sticking to the lid.
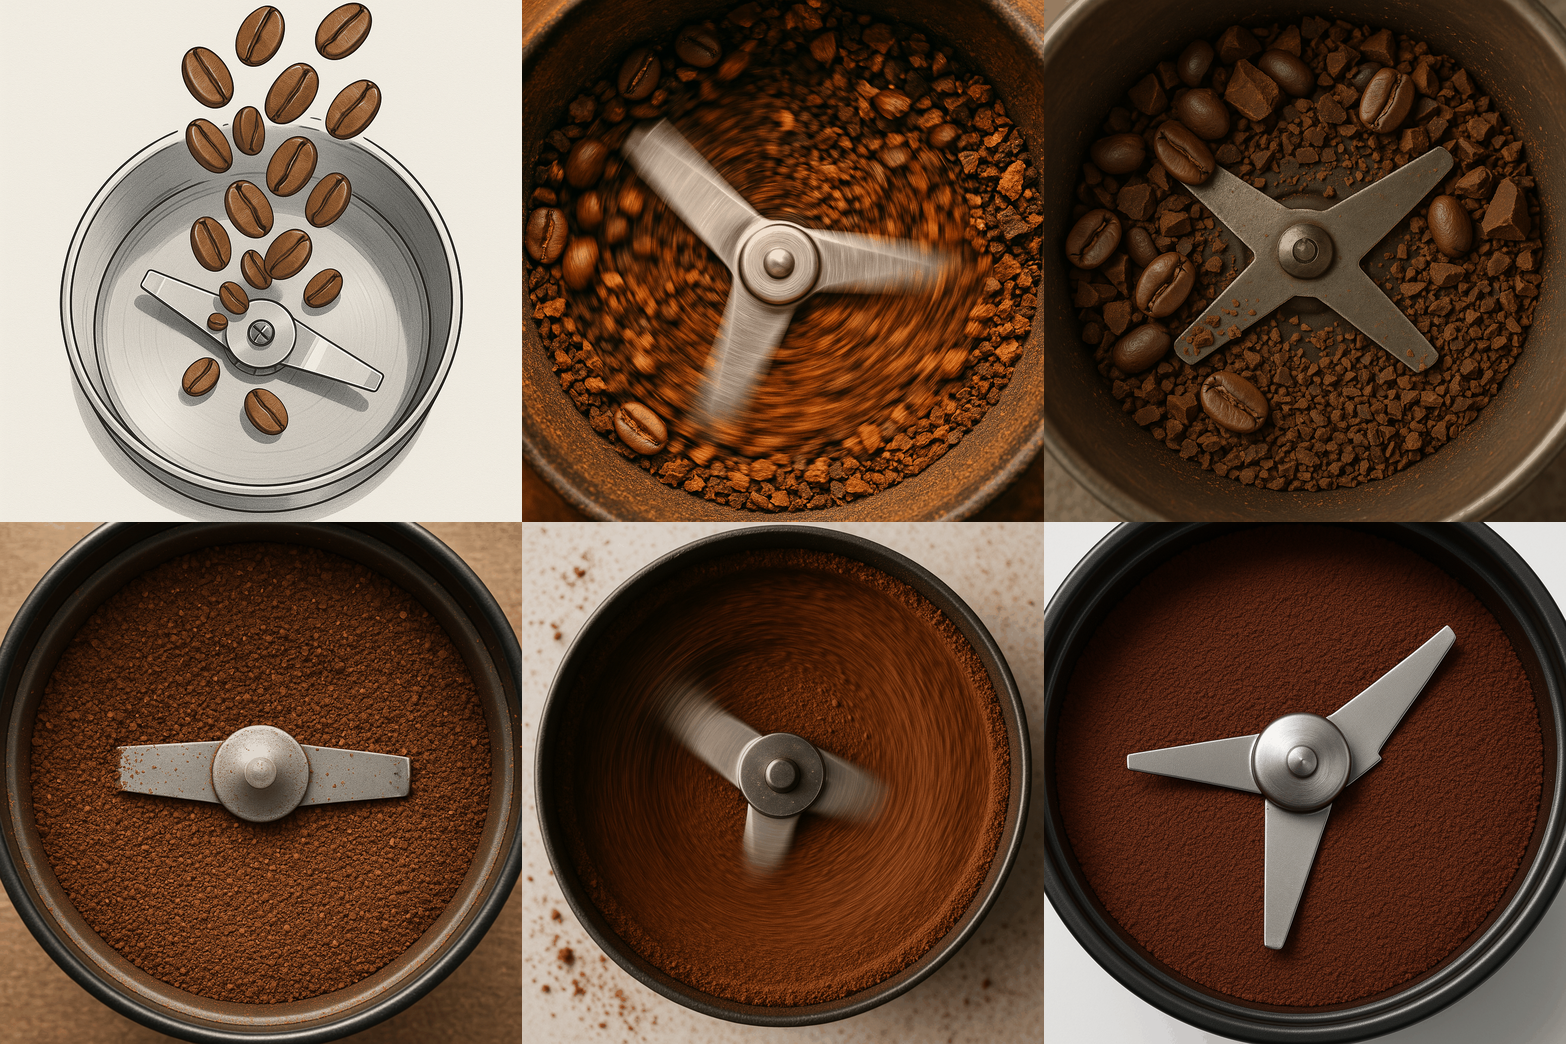
Step 2: The Pulse Protocol – Your Path to Consistency NEVER grind in one go! Use short, controlled pulses and shake the grinder vigorously between each pulse. This ensures the bean pieces continually rearrange and are ground evenly.
-
For French Press (Coarse):
- Protocol: 2-3 short pulses with shaking pauses.
-
Example timing:
1s Puls->schütteln->1s Puls->schütteln->0,5s Puls. (Total time approx. 5-7 seconds).
-
For filter coffee / pour-over (medium):
- Protocol: 4-5 pulses with slightly increasing duration.
-
Example timing:
1s Puls->schütteln->1,5s Puls->schütteln->1,5s Puls. (Total time approx. 10-12 seconds).
-
For espresso maker / moka pot (fine):
- Protocol: 6-8 pulses with targeted increases.
-
Example timing:
1s Puls->schütteln->1,5s Puls->schütteln->2s Puls->schütteln->2s Puls. (Total time approx. 15+ seconds).
The Pro Method: The "Cryo-Boost" with frozen beans
If you want to take the consistency to the extreme, use the cold of your freezer.
Step 1: Preparation Place your weighed coffee dose in an airtight container in the freezer (approx. -18°C) for at least 2 hours.
- The effect: The cold makes the beans extremely brittle. They break with clean edges during grinding, resulting in a much more consistent grind.
Step 2: Grinding & Antistatic Remove the beans from the freezer and immediately place them in the grinder. The condensation of the humidity on the cold beans creates the perfect, natural antistatic effect – the water drop trick is unnecessary here.
Step 3: Adjusted Pulse Protocol: Frozen beans break more easily! Reduce the number of pulses from the classic method by about 10-20% . Slowly work your way up to the perfect time for your grinder.
Conclusion: Unleash the potential of your grinder
The notion that only expensive grinders can make good coffee is outdated. With the right technique—conscious control of humidity, time, and movement—your impact grinder becomes a surprisingly precise instrument.
You have the control. You have the knowledge. Now make the best coffee of your life.

